How to Make Peppermint Oil for Hair?: The Easy Way
You may have heard about the effectiveness of peppermint oil for hair growth but are worried about the other ingredients used in the packaged bottles.
Don’t worry; there can be one solution; you can make peppermint oil for hair growth even at home.
Peppermint oil has been successfully used for many years for health purposes and especially on hair.
Hair loss is a common problem worldwide. Androgenetic Alopecia, the most common type of hair loss, affects approximately 80 million people in the US.
Peppermint, used as an essential oil, is a popular solution for hair loss.
Various brands sell peppermint essential oil for hair. However, making peppermint oil at home is safe and cost-effective too.
You will be assured of the quality, and there will be no mixture of other chemicals that may have caused harm to your hair.
Peppermint oil can be easily prepared with few ingredients. Continue reading to learn how to make peppermint oil for hair at home.
The making of Peppermint oil
Peppermint oil for hair growth can be easily made at home within a limited time.
To prepare this essential oil, you need peppermint leaves, mild carrier oil (olive or similar oil), cheesecloth, water, and a jar.
Follow the instructions to prepare peppermint oil at home:
Step 1: Choosing the correct leaves
Fresh peppermint leaves are essential to prepare a good quality oil for hair growth.
If you use a drying process for leaves, some compounds may oxidize. It will cause the loss of part of the essential oil.
You may pick good quality fresh leaves from your garden or nearby nursery. If you can’t, then you may visit an organic store.
Pluck broad and green peppermint leaves. Remember, taking the stems from a peppermint plant could cause it to die.

Step 2: Cleaning peppermint leaves
Cleansing is the most crucial part of making peppermint oil for hair so that no foreign substances end up in the oil.
If you clean your peppermint leaves, it will clean the dust that may have accumulated on them.
It is essential to clean your plant leaves regularly, as the dirt may reduce plant growth by hampering the photosynthesis process.
Run a stream of water over the leaves in a mesh strainer to wash away the dirt, dust, and debris.
You may also let your peppermint soak for five to ten minutes in a small basin for a more thorough cleaning.
When they are being washed, examine your peppermint leaves and discard any that appear infected, damaged, or discolored.
Step 3: Air dry the leaves
Lay the leaves in a single layer on a flat surface after giving them a gentle shake to remove any extra water.
To prevent the leaves from folding or curling as they dry, you can smooth them with the pad of your finger, if necessary.
Before starting the oil extraction process, your peppermint leaves must be totally dry.
Step 4: Muddle the peppermint leaves

Muddling is one of the most crucial procedures in producing various essential oils at home since it triggers the release of plants’ natural oils.
Using a hefty, blunt tool, gently muddle the peppermint leaves.
The leaves can be crushed with a mallet, mortar, pestle, or even the back of a spoon against a solid, hard surface.
It would be good if you used uniform pressure when moving your utensil.
If you want, you can also tear and squeeze your peppermint leaves by hand.
Avoid over-grinding the leaves because doing so can make them bitter and more difficult to strain afterward.
Step 5: Transfer the leaves to a jar
Put the crushed leaves in a clean jar or other suitable containers.
The leaves should be collected and put in the bottom of your container.
Make sure to allow space at the top for the contents to let them move around.
Note: You must choose a container with an airtight seal on the lid since plant oils can go bad when exposed to air.
Using a glass or ceramic container is recommended because there is less chance of oil contamination than with a plastic or metal container.
Step 6: Add carrier oil
A carrier oil is essential to make the best peppermint oil.
A carrier oil is mixed with highly concentrated essential oils to dilute it.
This dilution helps prevent any side effects that could happen after direct application.
You may use mild oils like wheat germ, grapeseed, almond, and olive.
Remember, only enough oil should be added to submerge the peppermint completely.
When finished, shake the jar to move the leaves about and better integrate them into the carrier oil.
Please don’t use too much carrier oil, as it can reduce the concentration of your finished essential oil.
Step 7: Leave the jar
For 24 to 48 hours, let the jar remain in a warm, dark location, away from sunlight, after tightly sealing it.
If you live in a colder region, put your jar in an insulated cabinet to maintain the ideal temperature in a colder region.
Step 8: Strain the oil
Use a cheesecloth to filter the infused oil.
Remove the jar’s lid after the peppermint has steeped for the night, and cover the opening with cheesecloth.
Tilt the jar over a different container to let the oil escape through the cheesecloth. After that, hand-pick up as many stray leaf fragments as you can.
Step 9: Repeat the initial steps
You have to repeat the steps mentioned above repeatedly.
You can continue doing this till your oil reaches its desired strength.
This process usually takes a few days, but you can add fresh leaves for a week.
You’ll notice that your peppermint oil gets darker in color and smells stronger after each steeping and filtering round.
Step 10: Seal the jar

After reaching your desired oil strength, seal the jar.
Once closed, the jar will aid in keeping your oil fresh until you’re ready to use it.
Keep your oil below room temperature in a cool, dark place to extend its shelf life.
Also, remember to reseal the jar after each use quickly.
You may use it for around 3-6 months.
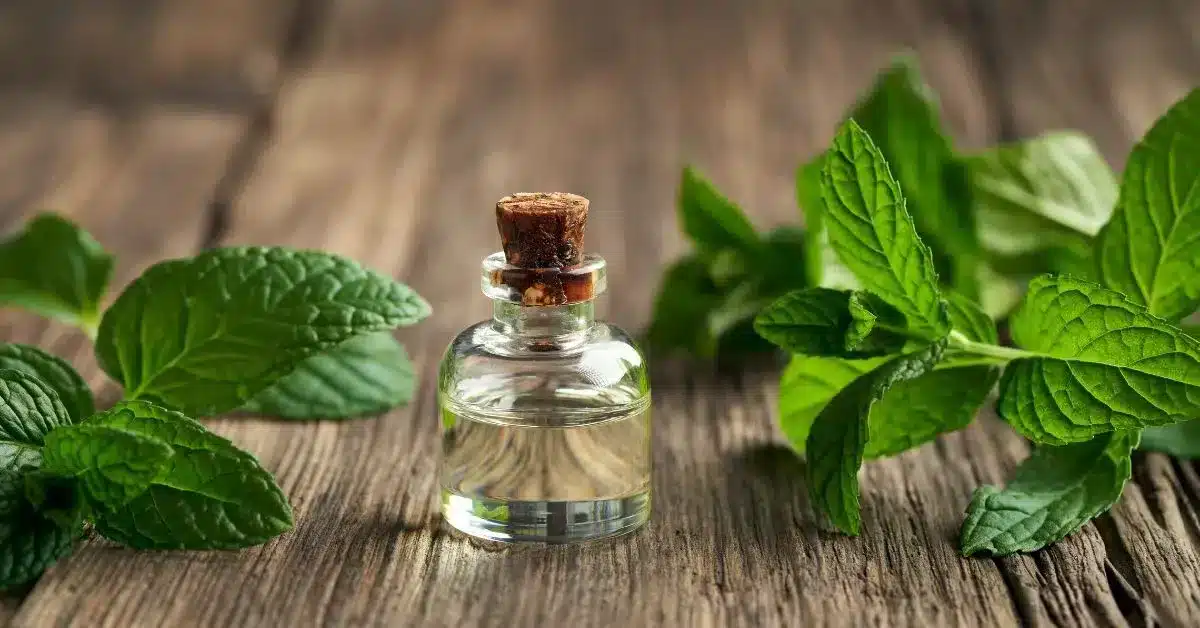
What is peppermint oil
Peppermint, scientifically known as Mentha piperita, belongs to the mint family (Lamiaceae).
Peppermint is native to North America and Europe. However, records have proved its usage in ancient Greece, Rome, and Egypt.
Peppermint oil is one of the famous essential oils that are used to promote hair growth.
The peppermint essential oil is extracted by the process of hydrodistillation of the flowering parts and leaves of the peppermint plant.
This essential oil is used in soaps, cosmetics, and also for health purposes.
Takeaway
Peppermint oil is widely used for hair growth. Various brands are selling it in the market.
But there may be some mixture of ingredients in the packaged product that may cause some harm.
Making peppermint oil at home with peppermint leaves, mild carrier oil (olive or similar oil), cheesecloth, water, and a jar is safe.
Cleansing, washing, air drying, muddling, mixing with a carrier oil, straining, and storing are the steps you have to follow to make the essential oil.
Frequently Asked Questions
Can you put peppermint oil directly on the hair?
It is advised not directly to put peppermint oil on your hair. The reason is that peppermint essential oil is highly concentrated. If applied directly, it may cause burning or irritation on the scalp.
Can I make my peppermint oil?
Yes, you can make your peppermint oil at home. You need peppermint leaves, mild carrier oil (olive or similar oil), cheesecloth, water, and a jar. Follow the steps of Cleansing, washing, air drying, muddling, mixing with a carrier oil, straining, and storing.
Can you make peppermint oil with coconut oil?
Yes, you may use coconut oil as a carrier to make finished peppermint essential oil. It is crucial to dilute peppermint oil with other carrier oil. When using a solid carrier oil like coconut oil, you may need to melt it before the dilution process.
How long does homemade peppermint oil last?
Your homemade peppermint oil may last for up to 3-6 months. The shelf life may also change depending on how much homemade peppermint oil is generated and how much plant matter is left over.
WowRx uses only high-quality sources while writing our articles. Please read our content information policy to know more about how we keep our content reliable and trustworthy.


